
I still had some of my
Crock Pot Dulce de Leche left after our
Mock Fried Ice Cream and I needed a bar cookie to take to an
event so I decided to put that dulce de leche to work!
I used a recipe for
dulce de leche bars I had from
Betty Crocker and just tweeked it a bit. I added chocolate.
Not sure you can really have caramel without chocolate – can you?
The base of the bars is a combination of flour, butter, brown sugar and
oats.
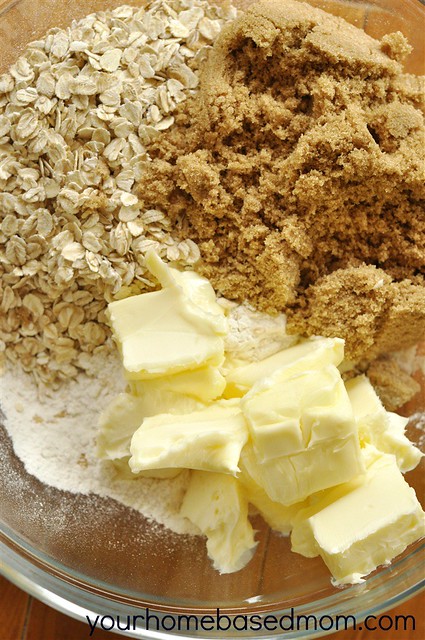
Use a pastry cutter to combine the ingredients.
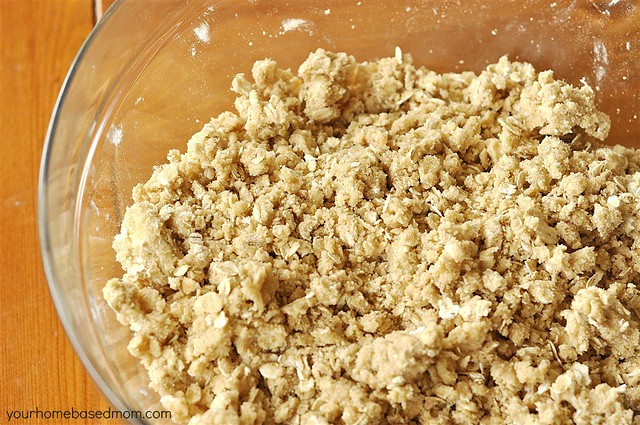
After
it is combined press the mixture into the bottom of a 9 x 13 pan reserving 1/4
cup of the crumb mixture for the topping.
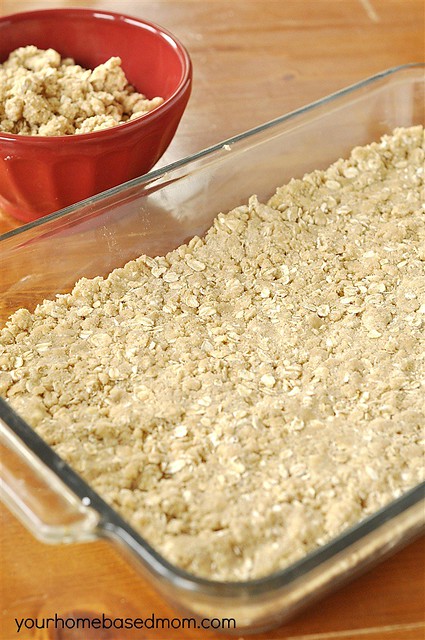
Bake
for 10 minutes at 350 degrees. Remove from oven and spread the dulce de leche
over the top. Carefully spread the dulce de leche so it doesn’t lift up too
much of the bottom crust.
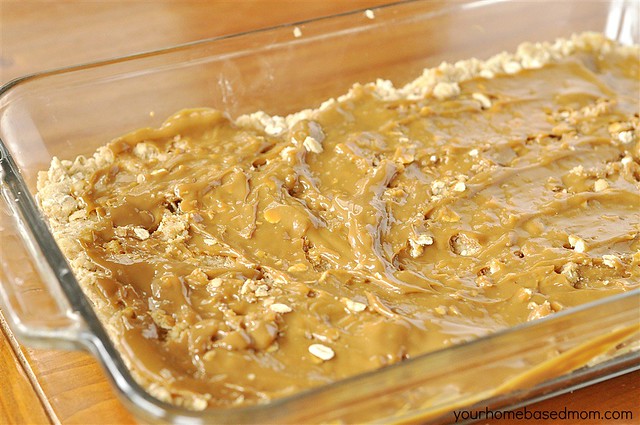
Sprinkle
with toffee bits and chocolate chips. I used the mini chocolate chips.
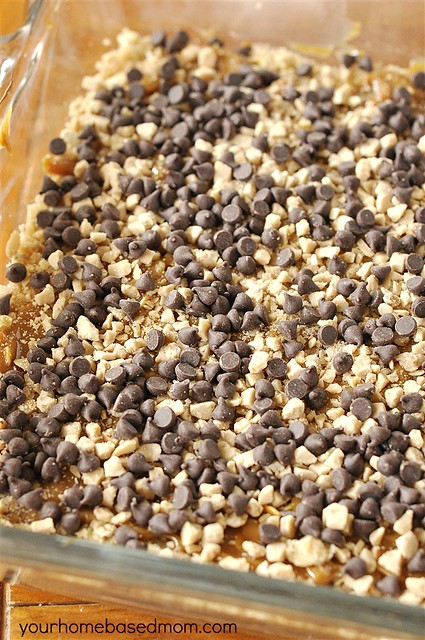
Then
top it with the remaining crumb topping and bake for 25-30 minutes or until
golden brown.
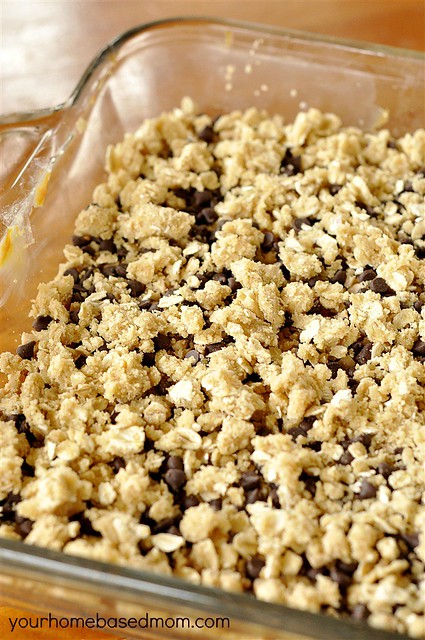
Remove
from the oven and allow to cool before cutting – if you can wait that long.
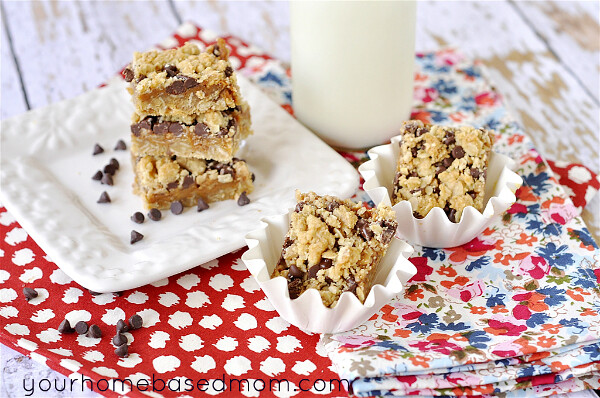
They may stick a bit to the edge of the pan so just run your knife all the
way around the edge to loosen them.
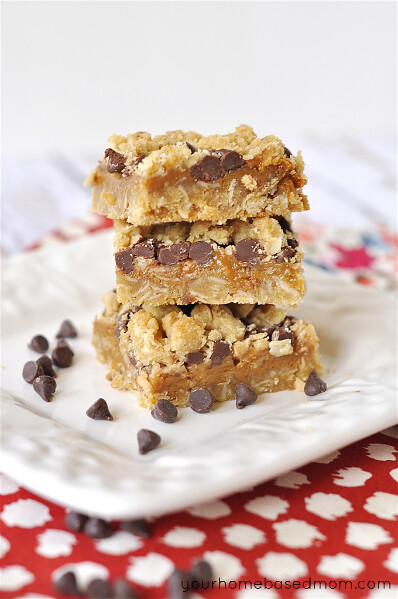
Dulce de Leche Bars
Ingredients
- 1 1/2 C flour
- 1 1/2 C old fashioned oats
- 1 C packed brown sugar
- 1/4 tsp salt
- 1 C butter, softened
- 1 1/2 C dulce de leche
- 1 C toffee bits
- 1 C chocolate chips
Instructions
- Preheat oven to 350 degrees
- In a bowl combine your flour,
oats, sugar and salt.
- Use a pastry blender to cut in
the butter until the mixture is crumbly.
- Set aside 1/4 C of the mixture
to use as a topping.
- Press remaining crumbs into the
bottom of an ungreased 9 x 13 pan. Bake for 10 minutes.
- In a small pan warm up your
dulce de leche until it is a good spreading consistency.
- Spread dulce de leche over the
top of the crust. Be gentle as you spread it so you don't lift up the crumb
mixture.
- Sprinkle with toffee bits and
chocolate chips.
- Sprinkle with remaining crumb
mixture.
- Bake 25-30 minutes or until
golden brown.
- Cool and enjoy!
2.0
Copyright ©
YourHomeBasedMom


No comments:
Post a Comment